Thursday, July 24, 2008

How to Unlock/Jailbreak Your 2.0 2G iPhone (Windows)

*Before continuing any further please note a lot of users are having issues with Winpwn. We ourselves had issues creating an ipsw. If you have XP, this tutorial will work flawlessly. However, reports are coming in that it does not work wonders on Vista. Winpwn has been updated to 2.0.0.3, hopefully that should fix a lot of the issues.*

Please keep these notes in mind...

- You MUST do a full uninstall of winpwn before installing the new version
- Make sure you have the latest version of iTunes ( Currently 7.7)
- WinPwn uses 300MB of ram at peak due to the ipsw being extracted in memory
- You must first click browse and load an IPSW to use WinPwn (i thought this was clear)
- For 2.0 only the *5A347_Restore.ipsw files are valid. The 345 image will not work
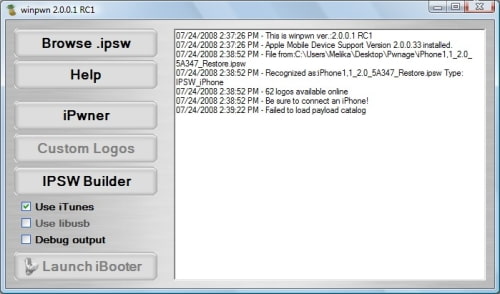
- If you see Failed to load image catalog/payload catalog, this is fine and won't cause problems
- If you already have service with AT&T do not activate or install Youtube Fix
These are instructions on how to unlock and jailbreak your 2.0, 2G iPhone using Windows and WinPwn.


To follow this tutorial you will need to have iTunes 7.7 installed (make sure to reboot). Also, you may need to download and install .Net Framework if you are on Windows XP.

Step One
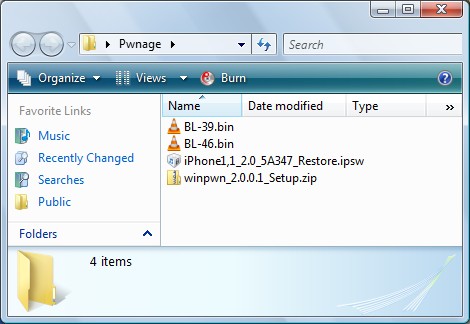
Create a folder on your desktop called Pwnage. In it place the following files: Winpwn 2.0.0.3 or Winpwn 2.0.0.3 , 3.9BL , 4.6BL , and the latest 2.0 firmware.

Step Two
Install WinPwn by extracting the downloaded zip from Step One and running the setup executable. Once WinPwn has been installed it will put a shortcut icon on your desktop. Double click to launch the application.


Step Three
Once WinPwn has opened click the Browse .ipsw button.


Step Four
Locate the 2.0 firmware file (iPhone1,1_2.0_5A347_Restore.ipsw) from the Pwnage folder on your desktop and click Open.
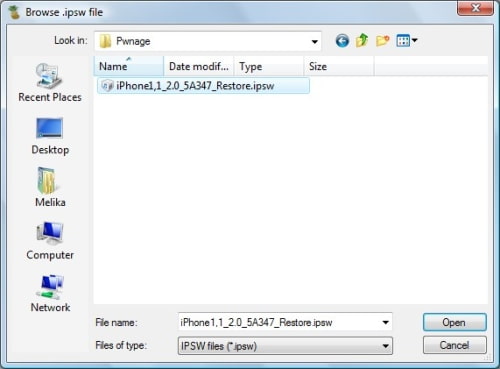

Step Five
WinPwn will check the firmware to make sure its valid. Now click the IPSW Builder button.
\

Step Six
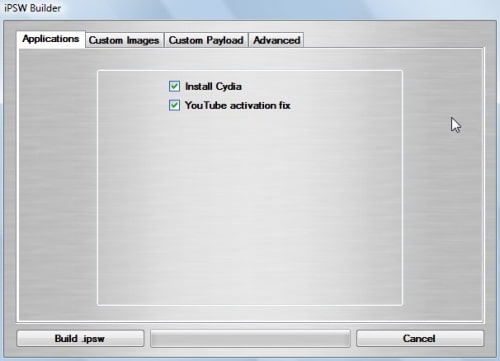
The IPSW Builder window will open to the Applications tab. Check to select Cydia and if you are not on AT&T then check to select YouTube Fix.

Step Seven
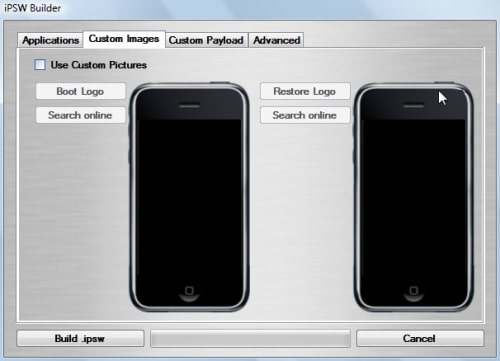
Click to select the Custom Images tab. From here you can can select
your own boot images.

Step Eight
Click to select the Custom Payload tab. From this tab you can select custom payloads you have created to be automatically installed. We will discuss this in a future tutorial.
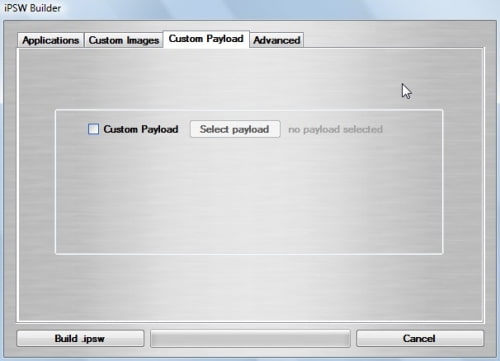

Step Nine
Click to select the Advanced tab. Check to select: Activate Phone, Enable Baseband update, and Unlock baseband.
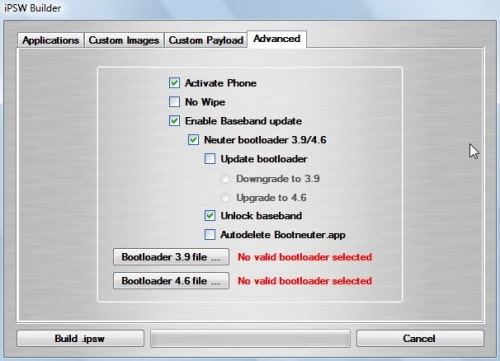

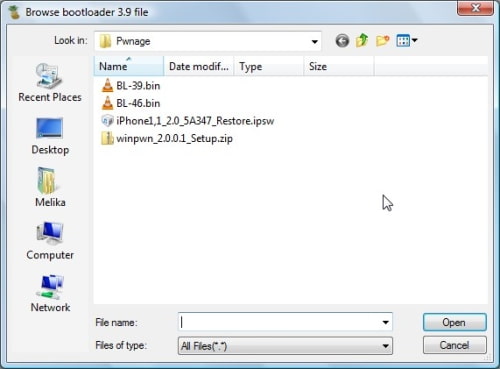
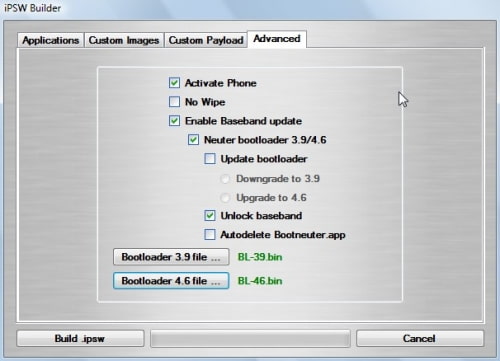
We will also need to load the Bootloader files. Click the Bootloader 3.9 button and then select the BL39.bin file in your Pwnage Folder. Then click the Bootloader 4.6 button and select the BL46.bin file in your Pwnage Folder.


Step Ten
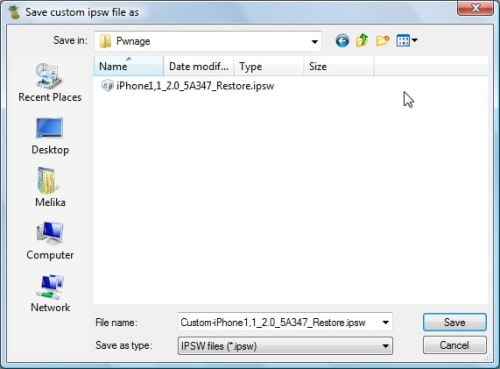
Click the Build .ipsw button at the bottom left to build your custom ipsw firmware file. Navigate to your Pwnage folder and click the Save button.

Step Eleven
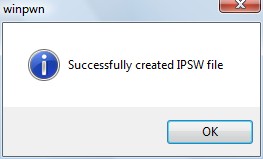
Once WinPwn has finished creating your custom firmware then click the iPwner button from the main menu.

Step Twelve
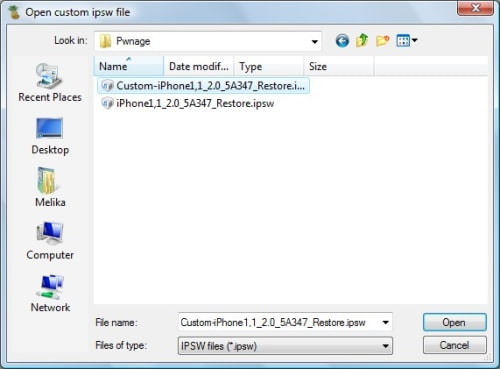
Select the custom firmware file we just built from the Pwnage folder on your desktop and click the Open button.

Step Thirteen
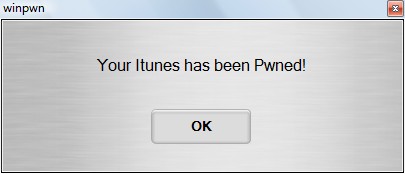
You will then be notified that your iTunes has been Pwned!

Step Fourteen
Next we will need to put the iPhone in the DFU mode and restore using iTunes. To put your iPhone into DFU mode please follow these instructions!


Make sure the screen is in black ( No image of the iTunes on screen ) in the DFU mode.

Step Fifteen
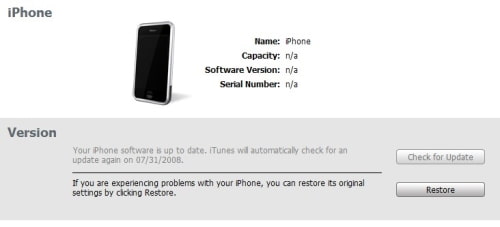
iTunes will prompt you that you are in recovery mode.


Hold down Shift and click the Restore button in iTunes.

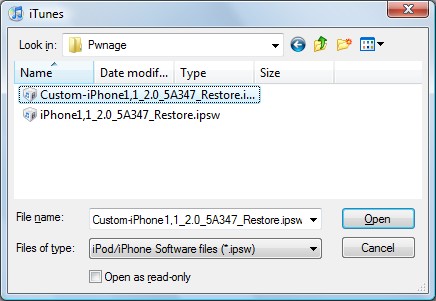
A popup window will appear asking you to select your firmware. Select the Custom firmware file we saved in the Pwnage folder and then click the Open button.

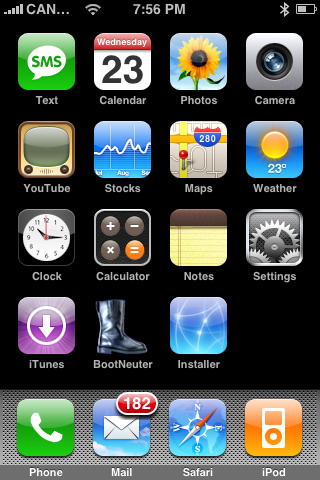
Once the restore is complete you will have your iPhone unlocked and jailbroken!
Wednesday, April 23, 2008

How to Track Stocks on the iPhone

All the credits go to iClarified @ http://www.iclarified.com/entry/index.php?enid=988

These are instructions on how to setup your iPhone to track your favorite stocks, indices, futures or bonds.

This tutorial is basic in concept; however, there are a few problems you might run into when doing this by yourself. For example if you were trying to setup the S&P 500 you will notice that a search doesn't yield results!

Step One
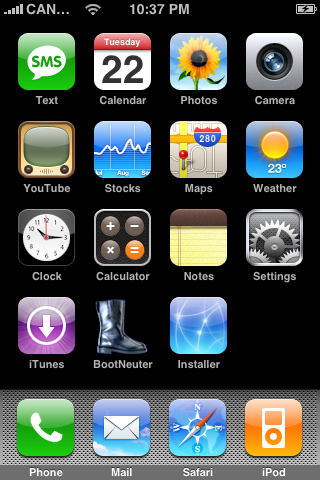
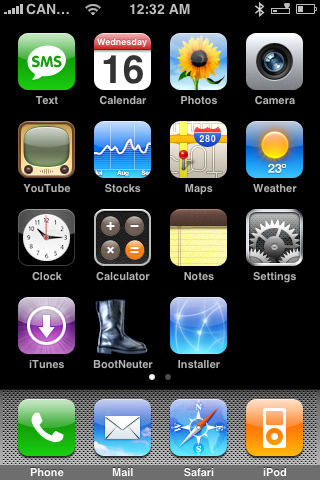
Press to launch Stocks from your SpringBoard.


Step Two
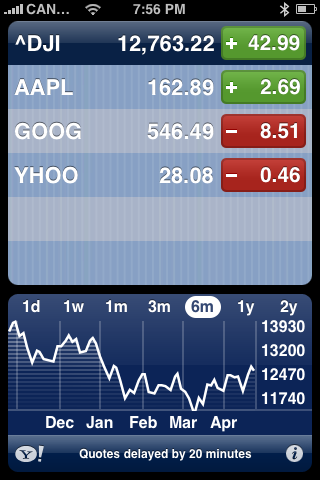
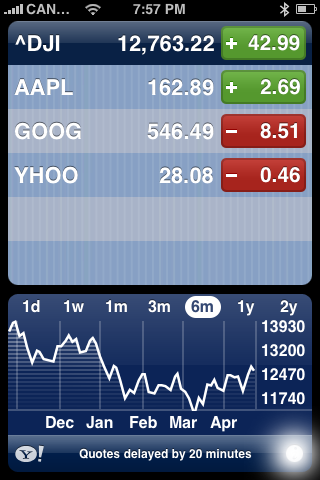
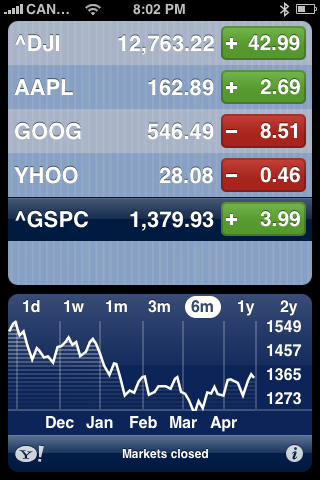
Notice that Apple has preset some common symbols for you: Dow Jones Industrial, Apple, Google and Yahoo.


Step Three
To add a stock press the i in the bottom right hand corner of the window.


Step Four
In this screen you will have the ability to add and delete stocks. To delete a stock simply press the "No Entry" icon to the left of the stock symbol. Lets add a symbol by pressing the + button at the top left of the screen.


Step Five
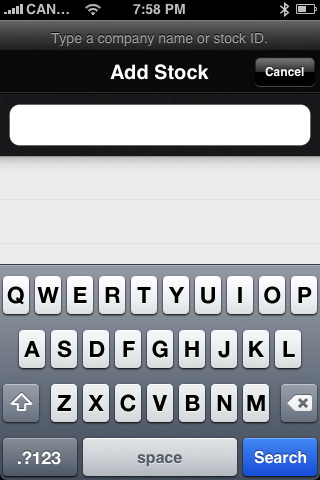
Here is where you can enter a symbol to search for. You will notice that some indices and futures will not be found under a basic search. The iPhone uses Yahoo as its quotes server. So we need to find out the symbol Yahoo uses.


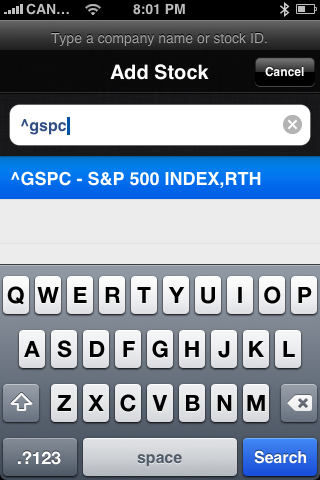
Open http://finance.yahoo.com and locate the index, future, bond etc you would like to track. Notice that beside the name Yahoo puts its symbol in brackets. For example the S&P 500 has the following symbol id: ^GSPC

Take this symbol id and enter it into your iPhone. Its name will appear in the list below. Press to select it.


Step Six
You will not notice the symbol added to your list of Stocks. If you would like your symbols tracked by % change then press the % button at the bottom of the screen. Otherwise press the Numbers button and then press the Done button at the top right of the screen.


Step Seven
Your newly added symbol will not be included in the stock list that your iPhone tracks!


How to Setup an Email Account on your iPhone

All the credits go to iClarified @ http://www.iclarified.com/entry/index.php?enid=985

These are instructions on how to setup your POP3 or IMAP email account on the iPhone. This is a relatively simple tutorial but I have received a lot of requests for it.

To perform this tutorial you must have your Email settings. You can obtain these from your Internet Service Provider. You will need to have your username and password as well as incoming and outgoing mailserver addresses.

Step One
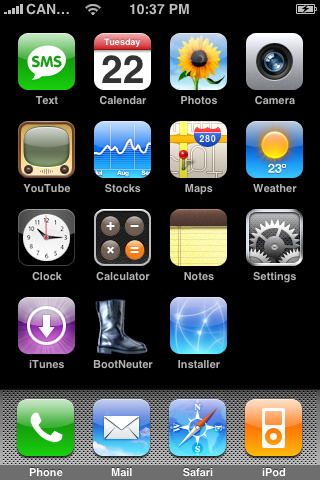
Press to select Settings from your SpringBoard.


Step Two
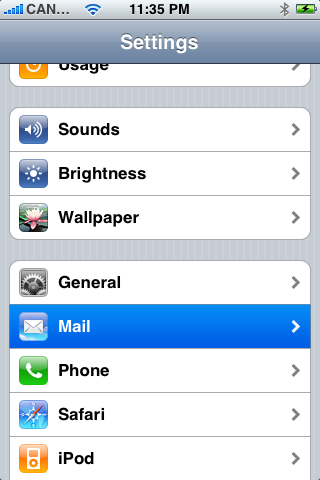
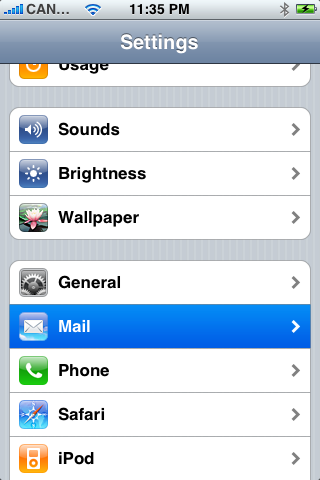
Press to select Mail from the Settings Menu.


Step Three
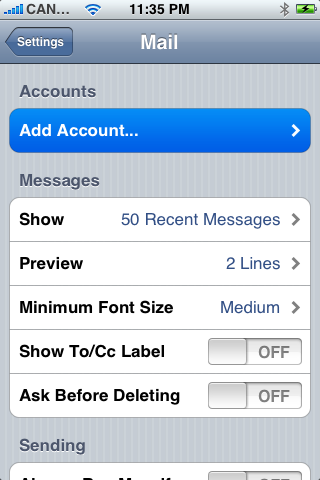
Press to select Add Account from the Mail Menu.


Step Two
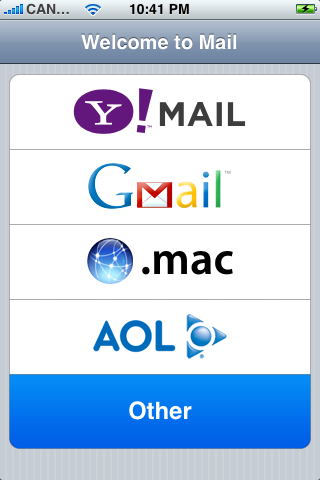
Press to select Other when you are presented with a Welcome to Mail screen.


Step Three
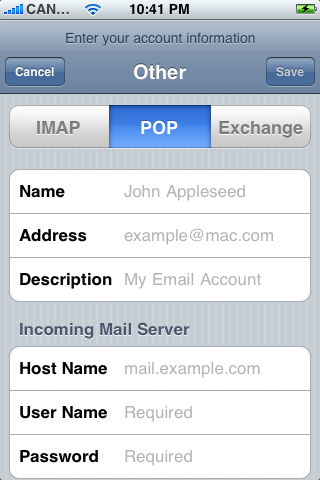
Press to select the type of email account you are trying to setup from the tabs at the top of the screen. In this example I will setup a POP3 email account.


Step Four
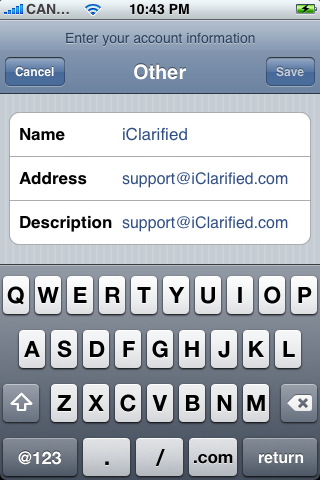
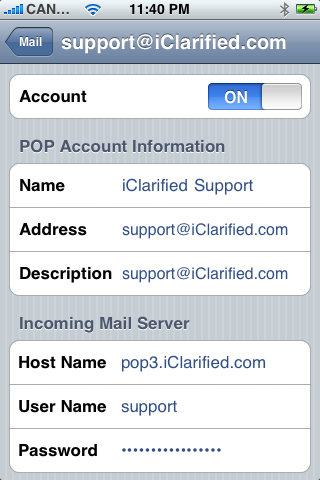
You will be asked to enter the information for this email account. Enter your Name, Email Address, and a Description for the account.


Step Five
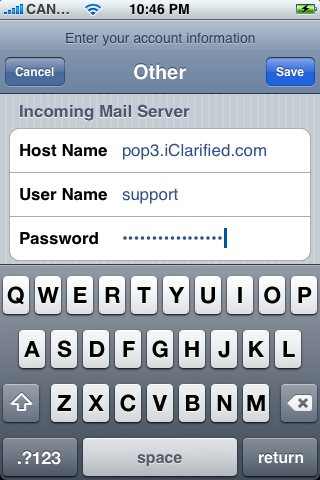
Scroll down and input the settings for your Incoming Mail Server. Enter your Host Name, User Name and Password.


Step Six
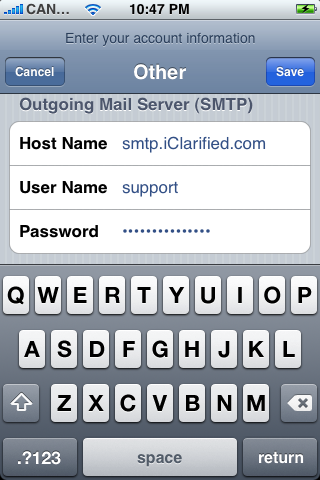
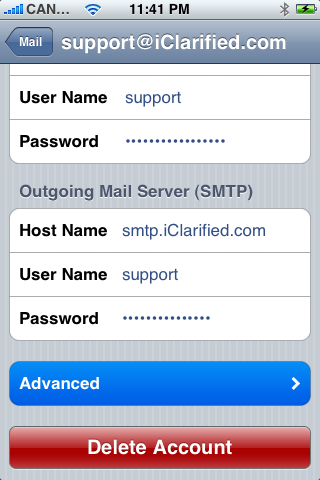
Scroll down to the bottom and input the settings for your Outgoing Mail Server (SMTP). Enter your Host Name, User Name, and Password. Then press the Save button at the top right of the screen.


Step Seven
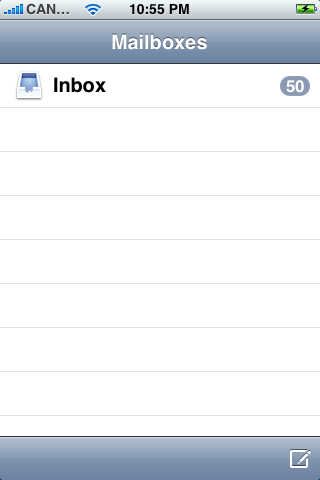
Mail will then check your mail settings. If it is able to verify the settings you inputed it will add the email account. Now when you press Mail it will take you to your mail account!


Step Eight
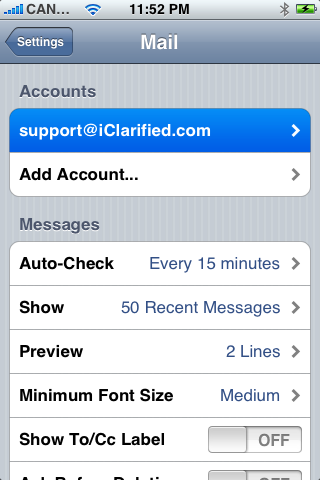
To confirm the Advanced settings for your Email you can select Settings from the SpringBoard.


Step Nine
Then select Mail from the Settings Menu.


Step Ten
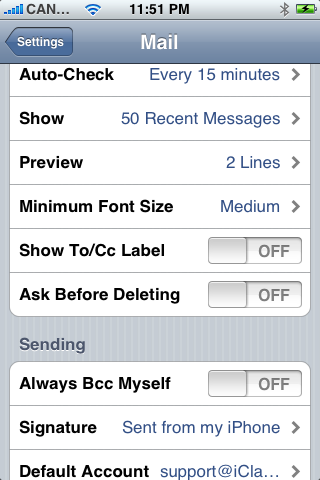
From the Mail Menu you can set Auto-Check, Shown Messages, Preview length, Font Size, To/CC label, Delete Confirmation, BCC, Signature and Default Account.


Step Eleven
You can also set advanced options for the specific account you just added. It is here that you can turn an email account ON or OFF. From the Mail Menu select the email account you just added


Step Twelve
You can use the Account switch to turn on and off the Email account.


Step Thirteen
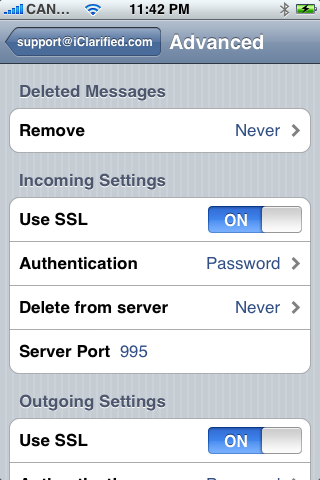
Scroll down and press the Advanced button.


Step Fourteen
It is here that you can manage your settings for Deleted Messages, SSL, Authentications, Delete from server and Server Port.

Wednesday, April 16, 2008

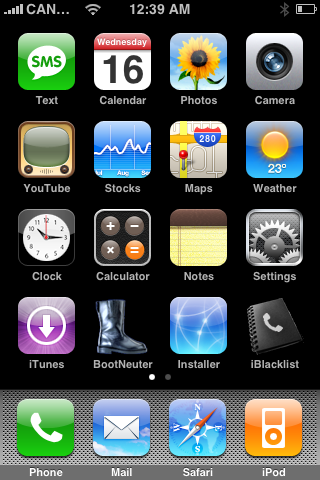
How to Filter iPhone Calls and SMS Using iBlackList

All the credits go to iClarified @ http://www.iclarified.com/entry/index.php?enid=953

These are instructions on how to filter your incoming calls and SMS messages using iBlackList for iPhone.

iBlackList allows your to create a blacklist or whitelist for filtering purposes. iBlacklist also features a scheduler which allows you to set the time of day iBlackList is active. The unregistered version of iBlackList allows you to filter 2 numbers. For unlimited numbers your must register. Please see the link at the end of this tutorial.

Step One
Please make sure you have iClarified added to your list of installer sources. To do this click here.

Step Two
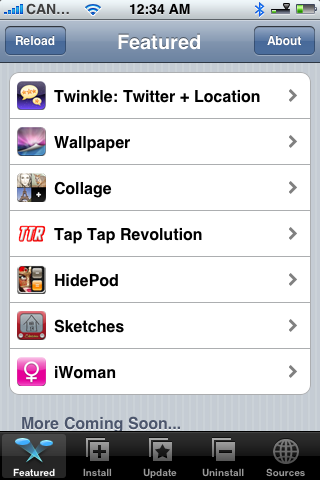
Press to launch Installer from your SpringBoard.


Step Three
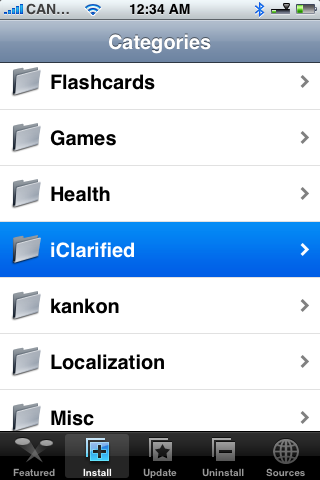
Press to select the Install tab at the bottom of the screen.


Step Four
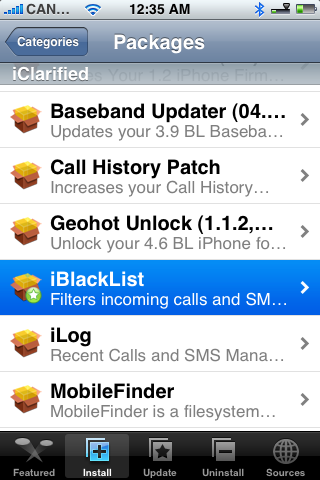
Press to select iClarified from the list of Categories


Step Five
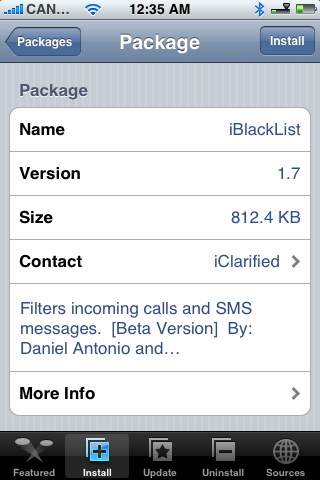
Press to select iBlackList from the list of Packages


Step Six
Press the Install button at the top right of the screen.


Step Seven
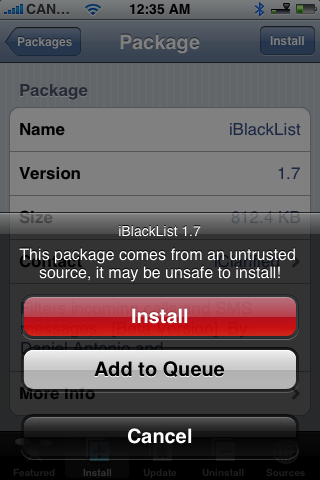
Press the large red Install button that appears.


Step Eight
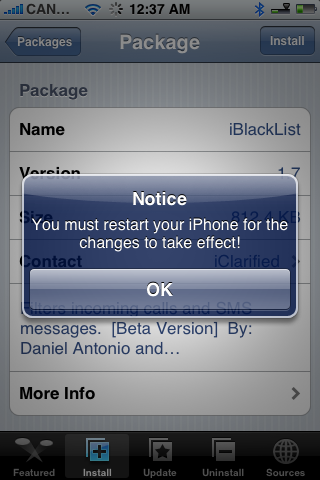
You will be notified that you must restart iBlackList once install has been completed. Press the large OK button.


Step Nine
You will be returned to the Categories menu when installation is complete. Press and hold the Sleep/Wake button for 3 seconds until the Power slider appears. Move the slider to the right to power off your iPhone. Then press the Sleep/Wake button again to turn your iPhone back on.


Step Ten
From the SpringBoard press to launch your new iBlackList icon.


Step Eleven
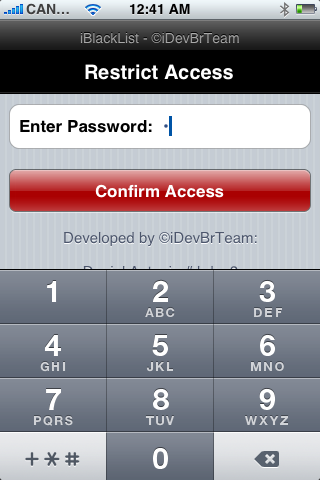
You will be asked to enter a password. Input the number 1 and press the Confirm Access button.


Step Twelve
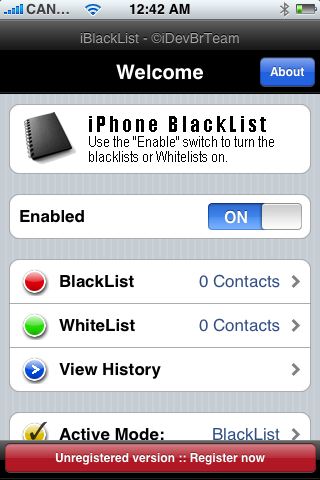
You will now be taken to the iBlackList home screen. Lets first move the Enabled switch to ON to enable iBlackList.


Step Thirteen
Now to add a number to our BlackList press the BlackList button.


Step Fourteen
Press the Add button at the top right to Add a number.


Step Fifteen
Here we can enter a contacts information in manually or press the Contacts button at the top right to input information from your phonebook.


Step Sixteen
Select a contact from your phone book and then select the phone number you would like to blacklist.


The Display and Phone number fields will then be populated automatically. Press the Add to list button.


Step Seventeen
Notice the number is now added to your BlackList. Press the Back button at the top left to return to the iBlackList menu.


Step Eighteen
Scroll down and ensure Active Mode is set to BlackList. Note: if you want to setup a whitelist of course you would set active mode to WhiteList.


Step Nineteen
Press Settings Calls to modify the settings for call filtering. Here you can set the action to take when a filter call comes in. You can also enable or disable the call filter and set the preferences to save history, delete recent calls, filter restrict number, filter unknown number, show a status bar icon, and vibrate. Press the Save button at the top left hand corner when finished modifying the settings.


Step Twenty
We can also press Settings SMS to modify the filter options for SMS messages. Here you can enable or disable SMS filtering and set the preferences to save history, delete SMS upon receipt, filter unknown number, show a status bar icon, and vibrate. Press the Save button at the top left hand corner when finished modifying the settings.


Step Twenty One
You can press Scheduler from the main menu to set the iBlackList's operation schedule.


Press to select a day of the week and you can modify the hours iBlackList is enabled for that day.


Press the Save button at the top left to return to back to the iBlackList menu.

Step Twenty Two
Finally you can also change your password by pressing the Password button on the main menu. Enter a new password and then press the large red Save password button.


Step Twenty Three
You can now press the Home button to exit iBlackList. When ever you receive a filtered text or call you will notice an icon in your Status bar. Press to launch iBlackList from the SpringBoard.


Step Twenty Four
Press View History from the iBlackList menu.


Step Twenty Five
You will now be able to view your filtered call or message and respond accordingly!


THANKS***:
Thanks goes to the iDevBrTeam (Daniel Antonio, Alexandre Kremer). You can visit their site to register iBlackList for a small fee. http://www.iBlackList.com.br