These are instructions on how to download files using the Safari browser on your iPhone. It installs the Safari Download Plugin written by hachu and extends it to include more file extensions thanks to spyboy.
File formats supported:
zip, rar, gz, lzh, hqx, dmg, dat, exe, tar, torrent, pdf,
wma, wmv, avi, dll, db, flv, swf (code is there , but i disabled it)
sqlitedb, doc (code there, but aint workin), plist (code there, but dont work)
xls (not workin but code there), ppt, pps, msi, asf, iso, img, bin, rtf, 3gp, ipsw, mp3, mp4, mpeg, mpg, swa.
Step One
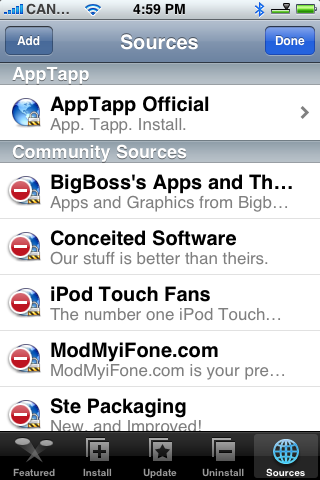
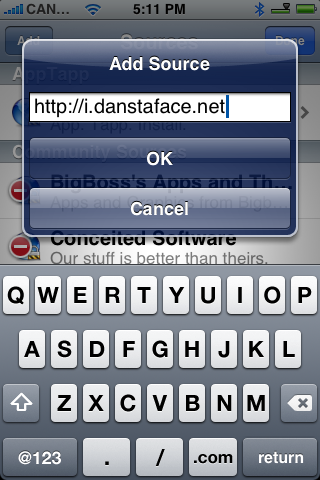
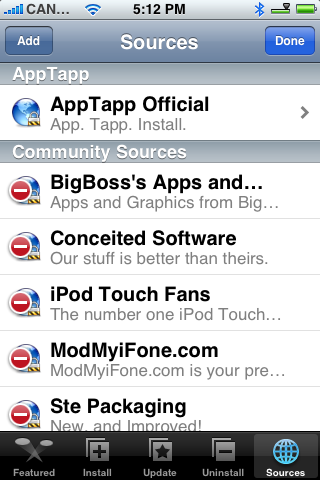
Make sure you have added iClarified to your list of installer sources. You can do this by follow the tutorial here
Step Two
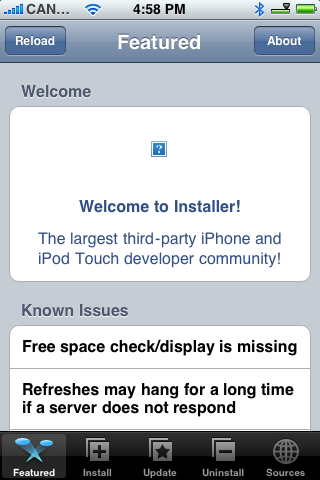
Press to launch Installer from your SpringBoard.

Step Three
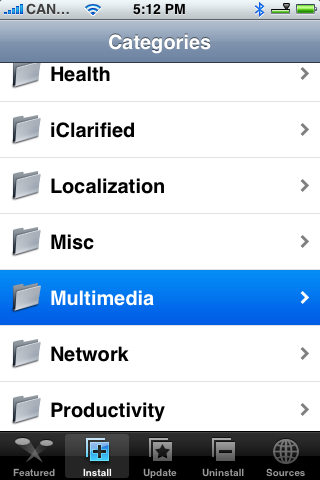
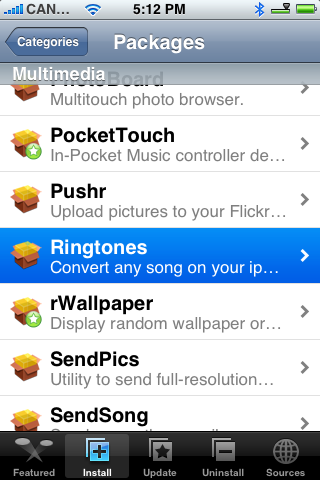
Press the Install tab at the bottom of the screen.

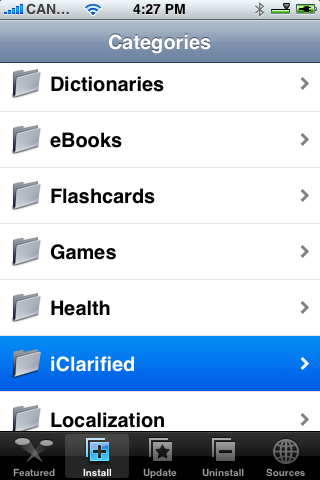
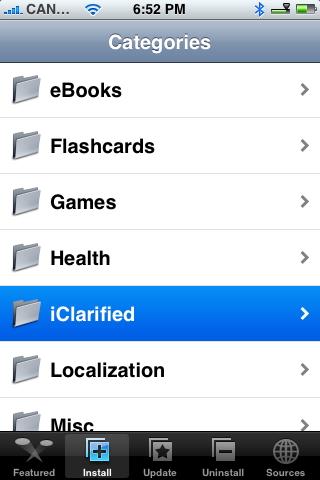
Step Four
Press to select iClarified from the list of Categories.
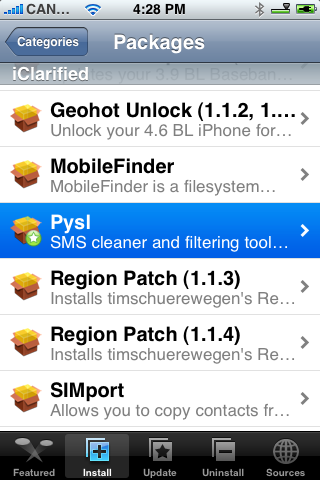
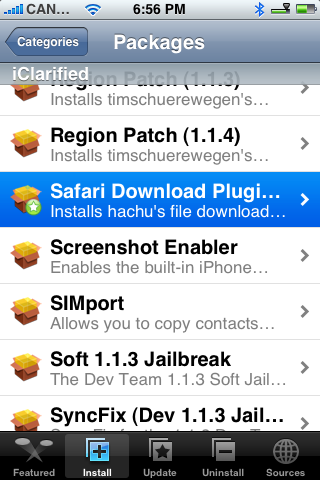
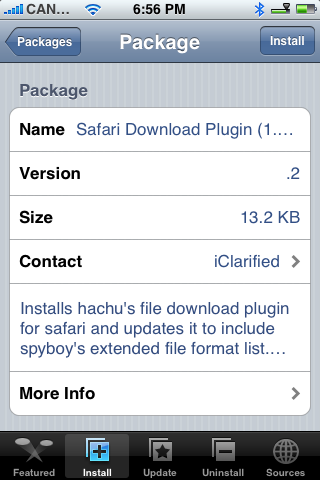
Step Five
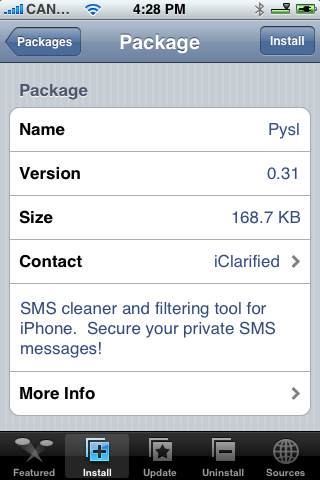
Press to select Safari Download Plugin (1.1.4) from the list of Packages.
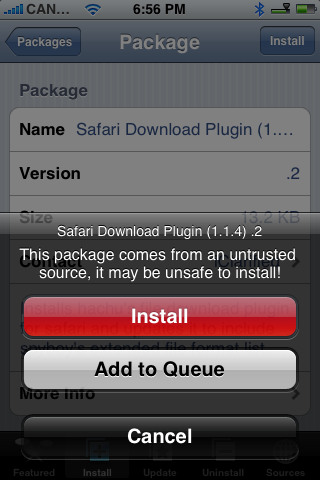
Step Six
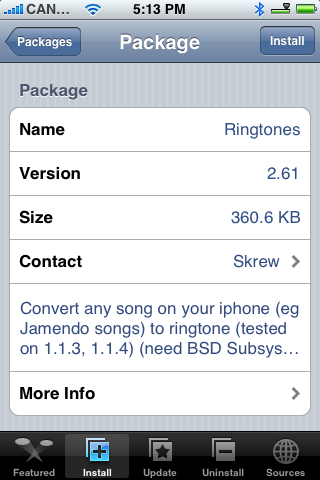
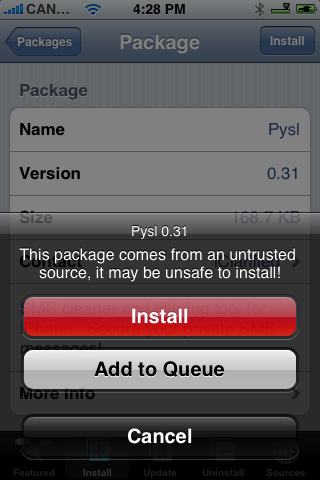
Press the Install button at the top right hand corner of the screen.
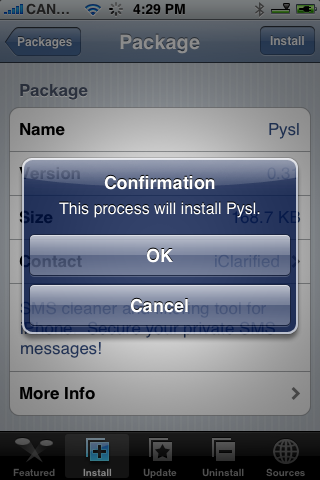
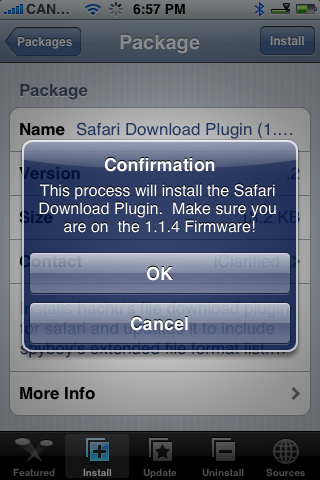
Step Seven
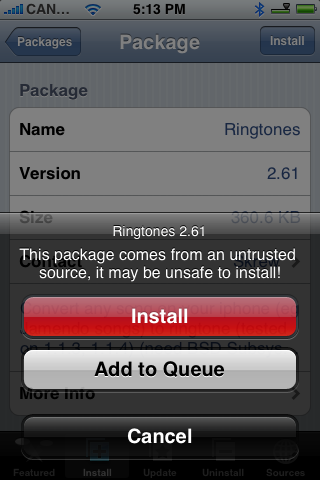
A confirmation window will appear. Make sure you are on 1.1.4 and press the large OK button.
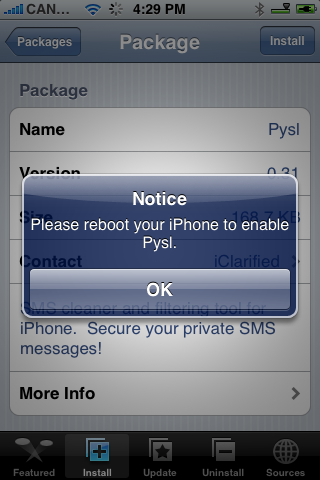
Step Eight
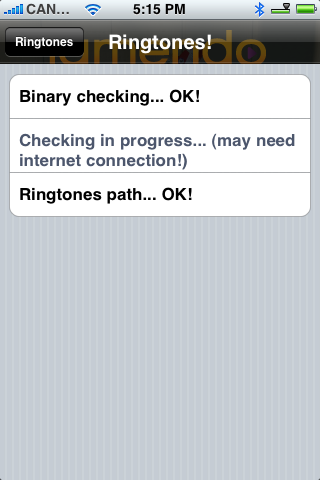
Once installation is completed you will receive a Notice asking you to reboot your iPhone. Press the large OK button.
Step Nine
You will be returned to the categories list. Press the Home button to return to your SpringBoard. Then press and hold the Sleep/Wake button for 3 seconds. A power slider will appear. Slide this to the right to power off your iPhone. Then press the Sleep/Wake button again to power it back on.

Step Ten
Press to launch Safari from your SpringBoard.

Step Eleven
Navigate to a page that contains a link to a file you would like to download. Press to click the link. A window will appear with a Download and Change Filename button. Press Download to download your file!
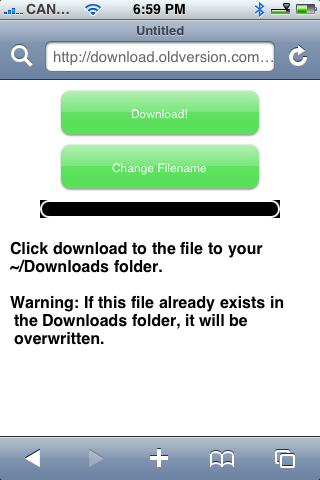
NOTE***: The download will go to the /var/root/Downloads folder. I will make a tutorial soon on how to view these files best.
THANKS***: Thanks to hachu and spyboy and everyone else that contributed to the creation of this plugin and its capabilities!