Friday, February 29, 2008

How to Unlock 1.1.2-1.1.4 iPhones with ZiPhone 2.5 GUI (Windows)


All the credits go to iClarified @ http://www.iclarified.com/entry/index.php?enid=746
and Zibri's Blog @ http://www.ziphone.org/

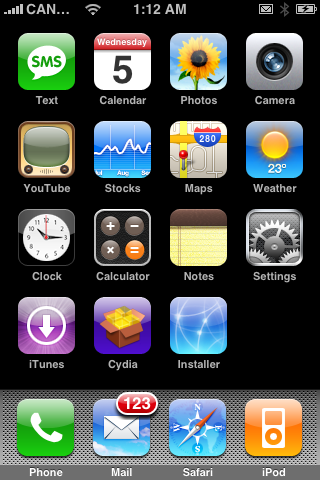
These are step by step instructions how to jailbreak and unlock almost any iPhone instantly! No downgrading then upgrading! You can do the unlock from 1.1.2, 1.1.3, or 1.1.4. It will also jailbreak and activate as well as install Installer.app for you!

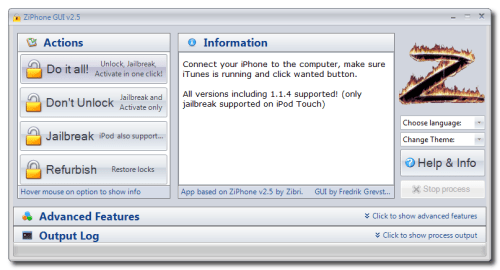
ZiPhone performs all these functions:
- Unlock will work on 4.6 BL or 3.9 BL
- Jailbreak will work on any OS version.
- Activation will work on any OS version, except for youtube on 1.0.X.
- iErase BL 3.9 Baseband

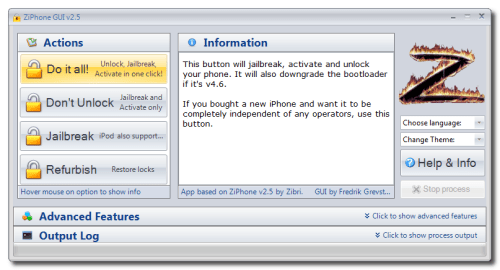
WARNING: THIS TUTORIAL WILL DOWNGRADE YOUR BOOTLOADER TO 3.9!

NOTE*x.1: To avoid unnecessary issues with bugs it is always recommender to
  • Put the iPhone into recovery mode(check F.A.Q)
  • Connect to iTunes 7.6.1 and restore it to 1.1.4 (NOT "upgrade" to 1.1.4!!)
before you try the following steps.


Step One
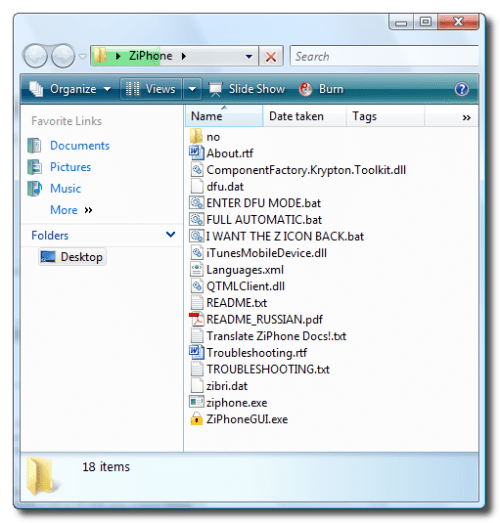
Download ZiPhone from: here
also download Microsoft .NET Framework Version 2.0 from: here

Step Two

Double click ZiPhone.zip on your desktop to extract the folder ZiPhone..


Step Three
From the extracted ZiPhone folder double click ziphoneGUI.exe to launch the application.


Step Four
Make sure you iPhone is connected to the computer and that iTunes has detected it.

Step Five
You can now activate, jailbreak, and unlock,! Just simply click the Do It All! button.


Step Six
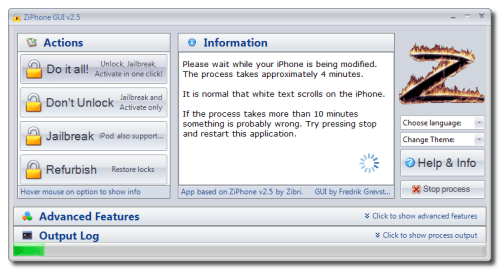
The program will now load zibri.dat. Then it will search for the iPhone. Once found it will tell you to wait for approxiametly 4 minutes.


Step Eight
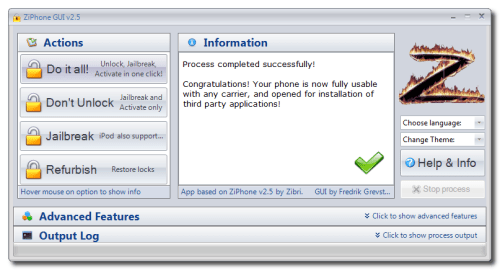
After this time your iPhone will reboot and it will be activated, jailbroken, and unlocked!!!!


NOTE*x.2:
In case you think you messed up the steps(white apple logo issue) or locked the phone you need to put the iPhone back in recovery mode, connect to iTunes 7.6.1, restore it to 1.1.4 before you can try beginning from step one again.

NOTE*x.3: "YouTube problem" try to use an active T-mobile simcard not the AT&T simcard that comes with iPhone. Most probably it will fix the problem!

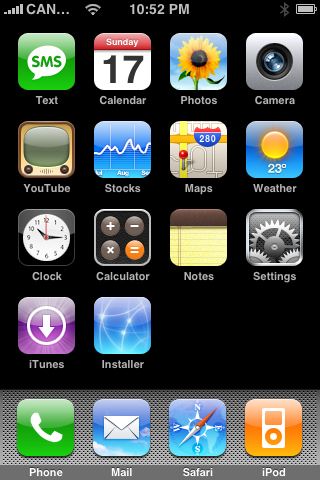
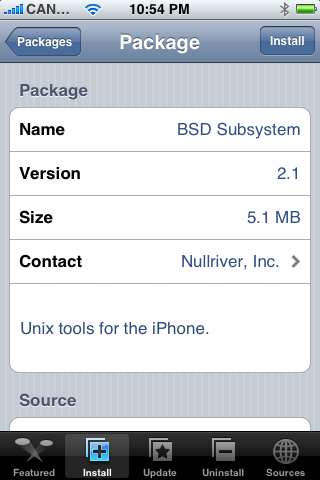
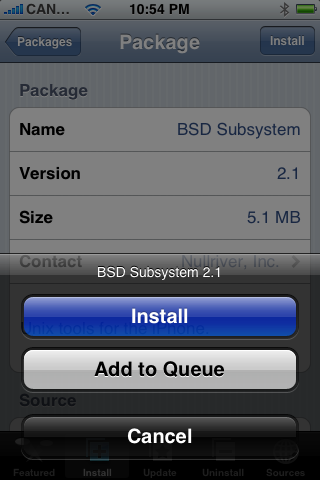
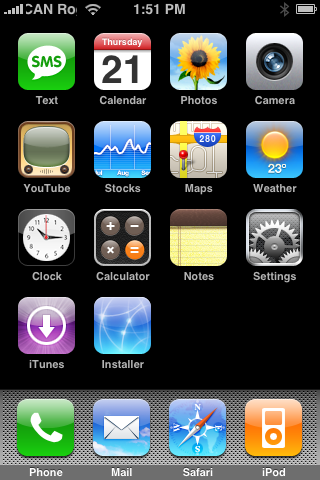
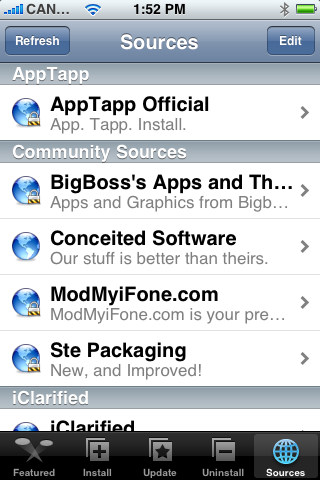
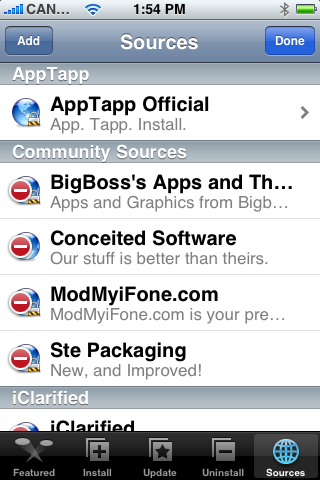
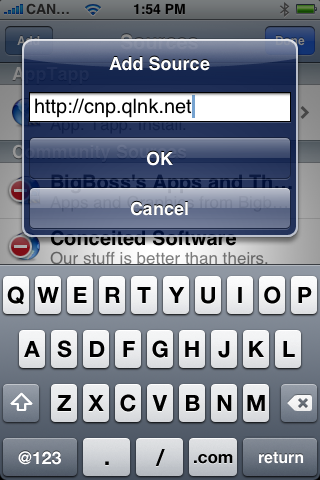
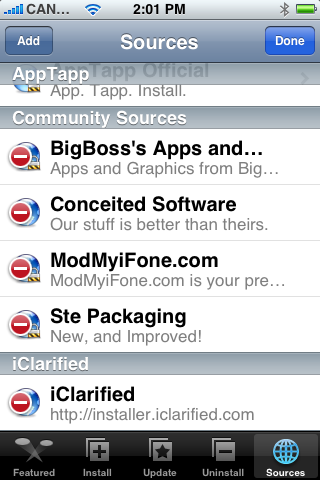
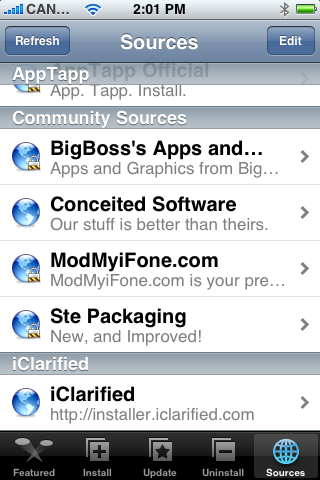
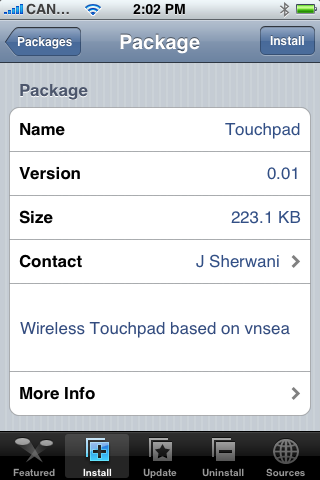
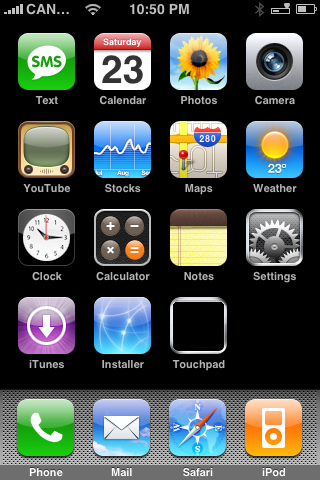
NOTE*x.4: After completion set up the Wi-Fi first and install BSD Subsystem(see below) first then OpenSSH from Installer.app(make sure Community Source is updated to 3.5/ 3.6 or later by refreshing sources). Also go to your iPhones settings, select GENERAL then choose Auto-Lock and make sure the option there is set to NEVER.

NOTE*x.5: For the first time connecting to iTunes after restoring with Ziphone2.5 set the iPhone as a NEW PHONE then go for Sync!!

Tuesday, February 26, 2008

How to Install BSD Subsystem on Your iPhone

All the credits go to iClarified @ http://www.iclarified.com/entry/index.php?enid=687

These are step by step instructions on how to install BSD Subsystem on your iPhone. BSD Subsystem is required before installing many other applications and patches and therefore should be the first package you install on your newly jailbroken iPhone.

Step One
Launch Installer by pressings its icon on your SpringBoard.


Step Two
Press to select the Install tab at the bottom of the screen


Step Three
Press to select System from the list of Categories.


Step Four
Press to select the BSD Subsystem package from the list of System packages.


Step Five
Press the Install button at the top right of the screen.


Step Six
Press the large Install button that appears.


Step Seven
A Notice will appear telling you not to use passwd in 1.1.3. Click the large OK button.


Step Eight
Once the installation is complete you will be returned to the Categories List.


After finishing the BSD Subsystem install you will most likely want to install OpenSSH from System category if it hasn't been installed already.

Monday, February 25, 2008

How to Get iPhone Notifications With Taskbar Notifier

All the credits go to iClarified @ http://www.iclarified.com/entry/index.php?enid=714

These are instructions on how to get notifications on new email, sms or missed calls using Taskbar Notifier. The Taskbar Notifier was created by m.e.slater and whippinpiccadilly. This version will only work for 1.1.2-1.1.4 iPhones!


Step One
Make sure you have BSD Subsystem installed on your iPhone.

Step Two
Press to launch Installer from the SpringBoard.


Step Three
Press to select the Install tab at the bottom of the screen.


Step Four
Press to select Utilities from the list of Categories.


Step Five
Press to select Taskbar Notifier from the list of Packages.


Step Six
Press the Install button at the top right hand corner.


Step Seven
Press the large Install button that appears.


Step Eight
You will be returned to the Categories List. Press the Home button to return to your SpringBoard. Now hold the Sleep/Wake button down for three seconds to bring up the Power slider. Move this slider to the right to power down your iPhone. Then press the Sleep/Wake button again to restart your iPhone...


NOTE**: You may have to reboot your iPhone twice... If it does not work after one reboot try a second reboot.

THANKS***:
You will now notice either a telephone, email or sms in the top right hand corner of your screen if you have missed any one of those items! A big thanks to m.e.slater and whippinpiccadilly for developing this! Check out the google code page here


Sunday, February 24, 2008

How to Use Your iPhone as a Touchpad (Windows)

All the credits go to iClarified @ http://www.iclarified.com/entry/index.php?enid=705

These are instructions on how to access your Computer using your iPhone as a Wireless Remote trackpad.

Step One
Press to select Installer from your Springboard.


Step Two
Press to select the Sources tab at the bottom right of the screen.


Step Three
Press to select the Edit button at the top right of the screen.


Step Four
Press to select the Add button at the top left of the screen.


Step Five
Enter http://cnp.qlnk.net into the entryfield then press the large OK button.


Step Six
Press the Done button at the top right of the screen.


Step Seven
Press the Install tab at the bottom of the screen.


Step Eight
Press to select Utilities from the list of Categories.


Step Nine
Press to select Touchpad from the list of Packages.


Step Ten
Press the Install button at the top right of the screen.


Step Eleven
Press the large Install button that appears.


Step Twelve
When Touchpad is finished installing you will be returned to the Categories list. Press the Home button to return to your Springboard, then press the Touchpad icon to launch the program.


Step Thirteen
Now on your computer download an install TightVNC from here

Step Fourteen
Launch TightVNC Server by selecting it from the Program list.

Step Fifteen
Change the Primary password and View-only password to a password of your choice.

Than click the Apply button.

Step Sixteen
Press the Windows key and R at the same time to bring up the Run window. Enter cmd into the field and click the Ok button.


Step Seventeen
When the command prompt appears, type in ipconfig /all and press the Enter key. Take note of your IP Address... In this case my IP is 192.168.0.199.


Step Eighteen
Back on your iPhone, press to launch Touchpad from the Springboard.


Step Nineteen
Press the + button at the top right of the screen.


Step Twenty
You will now be presented with the Edit Server screen. Enter a name from the computer you are connecting to. Enter an Address for the computer as well. (You can find this address from the screen in Step Seventeen.) Enter the password you set in Step Seventeen. Then, when you have entered all those settings you may press the Save button at the top right.


Step Twenty One
Now that you have configured your server you may press to select it from the list of servers.


Step Twenty Two
Now that you have connected to your computer you can use your iPhone as a Touchpad!!!


Thanks***: Big thanks goes out to Jahanzeb for creating this app!

How to Increase the Volume of Your 1.1.3 iPhone

All the credits go to iClarified @ http://www.iclarified.com/entry/index.php?enid=712

These are instructions on how to increase the volume on your 1.1.3 iPhone using an Installer source. Remember your iPhone speaker isn't very powerful so it will only be a slight improvement but its better then before :)

Step One
Make sure you have iClarified added as an installer source. You can find directions on how to do that here.

Step Two
Press to launch Installer from your Springboard.


Step Three
Press to select the Install tab at the bottom of the screen.


Step Four
Press to select iClarified from the list of Categories.


Step Five
Press to select Volume Boost (1.1.3) from the list of Packages.


Step Six
Press the Install button at the top right hand corner of the screen.


Step Seven
Press the large red Install button that appears.


Step Eight
You will get a Notice telling you that this process will patch your iPhone to increase its maximum volume! Press the large OK button.


Step Nine
When the installation is done you will get a Notice telling you that your volume has been patched and to restart your iPhone. Press the large OK button.


Step Ten
You will be returned to the Categories list. Hold down the Sleep/Wake button for 3 seconds to bring up the Power slider. Slide it to the right to turn off your iPhone. Then push the Sleep/Wake button again to turn back on the phone!


You will now notice an increase in the volume of your phone :)